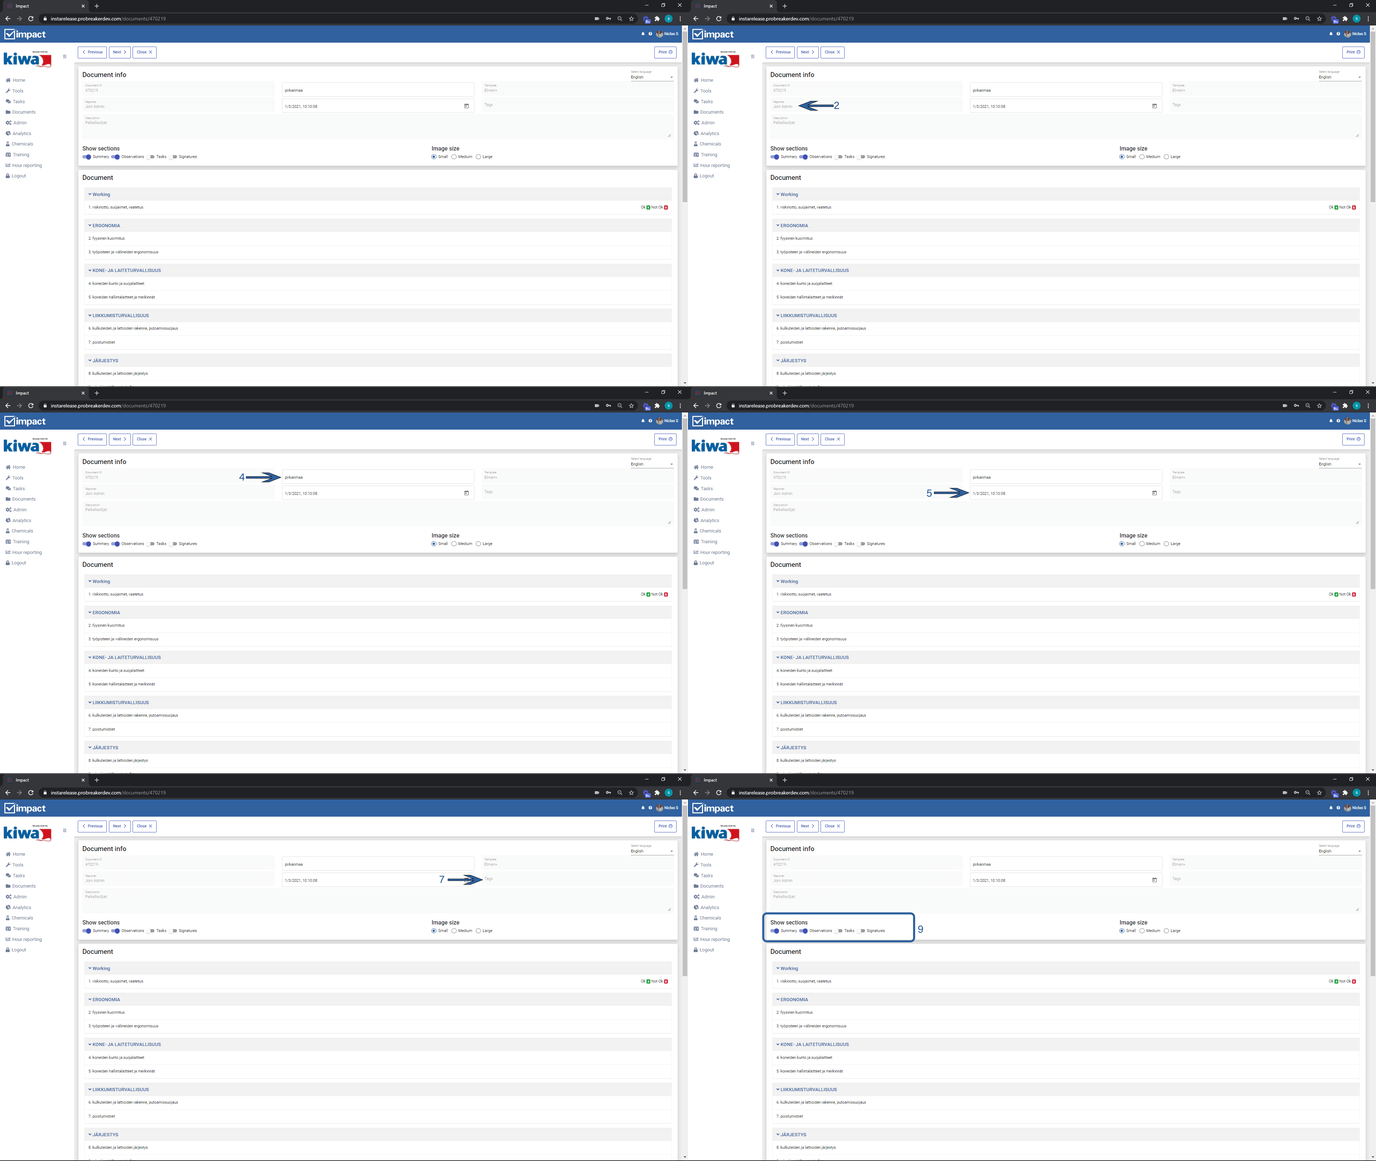
Document specific view
This guide walks you through the content and functionality of the document view.
The document-specific view can be opened, for example, by clicking on the desired document in the document list of the document overview on the document page. To return to the previous view, click on the Close button in the top left-hand corner. The Previous and Next buttons can be used to move forward between the documents in the list without having to go back to the general view.

In the document view, the following information is displayed.
- Document ID
- Reporter (field is empty if the form has been filled in via a link)
- Description
- Level
- Date & Time
- Template
- Tags
- Template language selection
- Displayed parts:
- Summary,
- observations,
- tasks attached to the document and signatures.
The version history of the updatable checklists can also be viewed in the document view. It is possible to move between versions and view the contents of old versions by clicking on the Version drop-down menu in the top right-hand corner. The latest version is displayed in the list as Default.

Document specific view functionalities
From the document-specific view, you can print the document and easily access document-related tasks, as well as edit some of the document's information as the admin user. The document-specific functionalities are described below. First, the general functionalities are described below, and at the end of the list you will find the admin user-specific functionalities.
Printing/saving a document to a computer
From the document view, you can print or save an open document in PDF format. The instructions below will help you to print the document.
- Click on the Print button in the document view.
- From the print options, select Save PDF or your preferred printer, depending on whether you want to save or print the document.
- Before saving/printing, check the print options to ensure that the following items are selected:
- Headers and footers
- Background graphics.
- Finally, click Save/Print.
Moving to document tasks
From the document view, you can easily access the list of tasks belonging to a document by clicking on Show Tasks in Tasks page. For more details on how to handle tasks and view the tasks page, please see the dedicated instructions:
- Handling tasks
- General view of the Tasks page

Document image size editing
The size of the images in the document view can be changed by selecting the Image size option. By default, the size of the images is always small.

Visibility of document content
The document-specific view can be affected by the Display parts option. Below we go through what can be displayed using the options:
- Summary: Summary of the responses to the checklist/updatable checklist.
- Observations: Observations related to the document
- Tasks: List of tasks related to the document
- Signatures: Signature lines can be added at the end of the document for post-print signature.

Copy to start a new -function
From the document view, you can start filling the same tool again by copying the answers of the current document as a base. This is possible by clicking on Copy to start new. Once started, the tool must be selected as the level to fill the tool with. Once selected, the tool will open to be filled with the answers from the selected document.
Private fields (for admins)
If there are any components in the filled document that have been set as private, you can view them as admin user via the Show private fields button. Clicking on this will make the fields visible and clicking again will hide these fields again. When private fields are viewed via this function, a log record is always left in the task/observation log for that document.

Modify document information (for admins)
Some document information can be edited in the document-specific view of the admin user. These include the document's level and creation date and time.
Editing the level can be used to correct if for some reason the document has been filled in the wrong level or to archive a document if it is not relevant for analytics.
In the same way as the level, the date and time of the document can also be edited. This edit will update the document date displayed in the analytics, but the date in the document listing on the Documents page will not be updated as the page will display the document save/create date.
Delete/archive document (for admins)
A document can be moved to the archive from the Document view. First, make sure that there is a target for archiving in the organization tree, e.g. Archive. If there is no such object already in the organization tree, first add this to the organization tree and click off Included in analytics in its settings. The desired document can then be moved to the archive by opening the document and selecting the newly created or existing Archive object as the target, following the instructions for editing the data above.
The document cannot be completely removed from Impact, but with this process it will no longer appear in the analytics and will not affect the analytics data. If for any reason you need to completely remove a document from Impact, please contact Impact Support at support@kiwaimpact.com.
