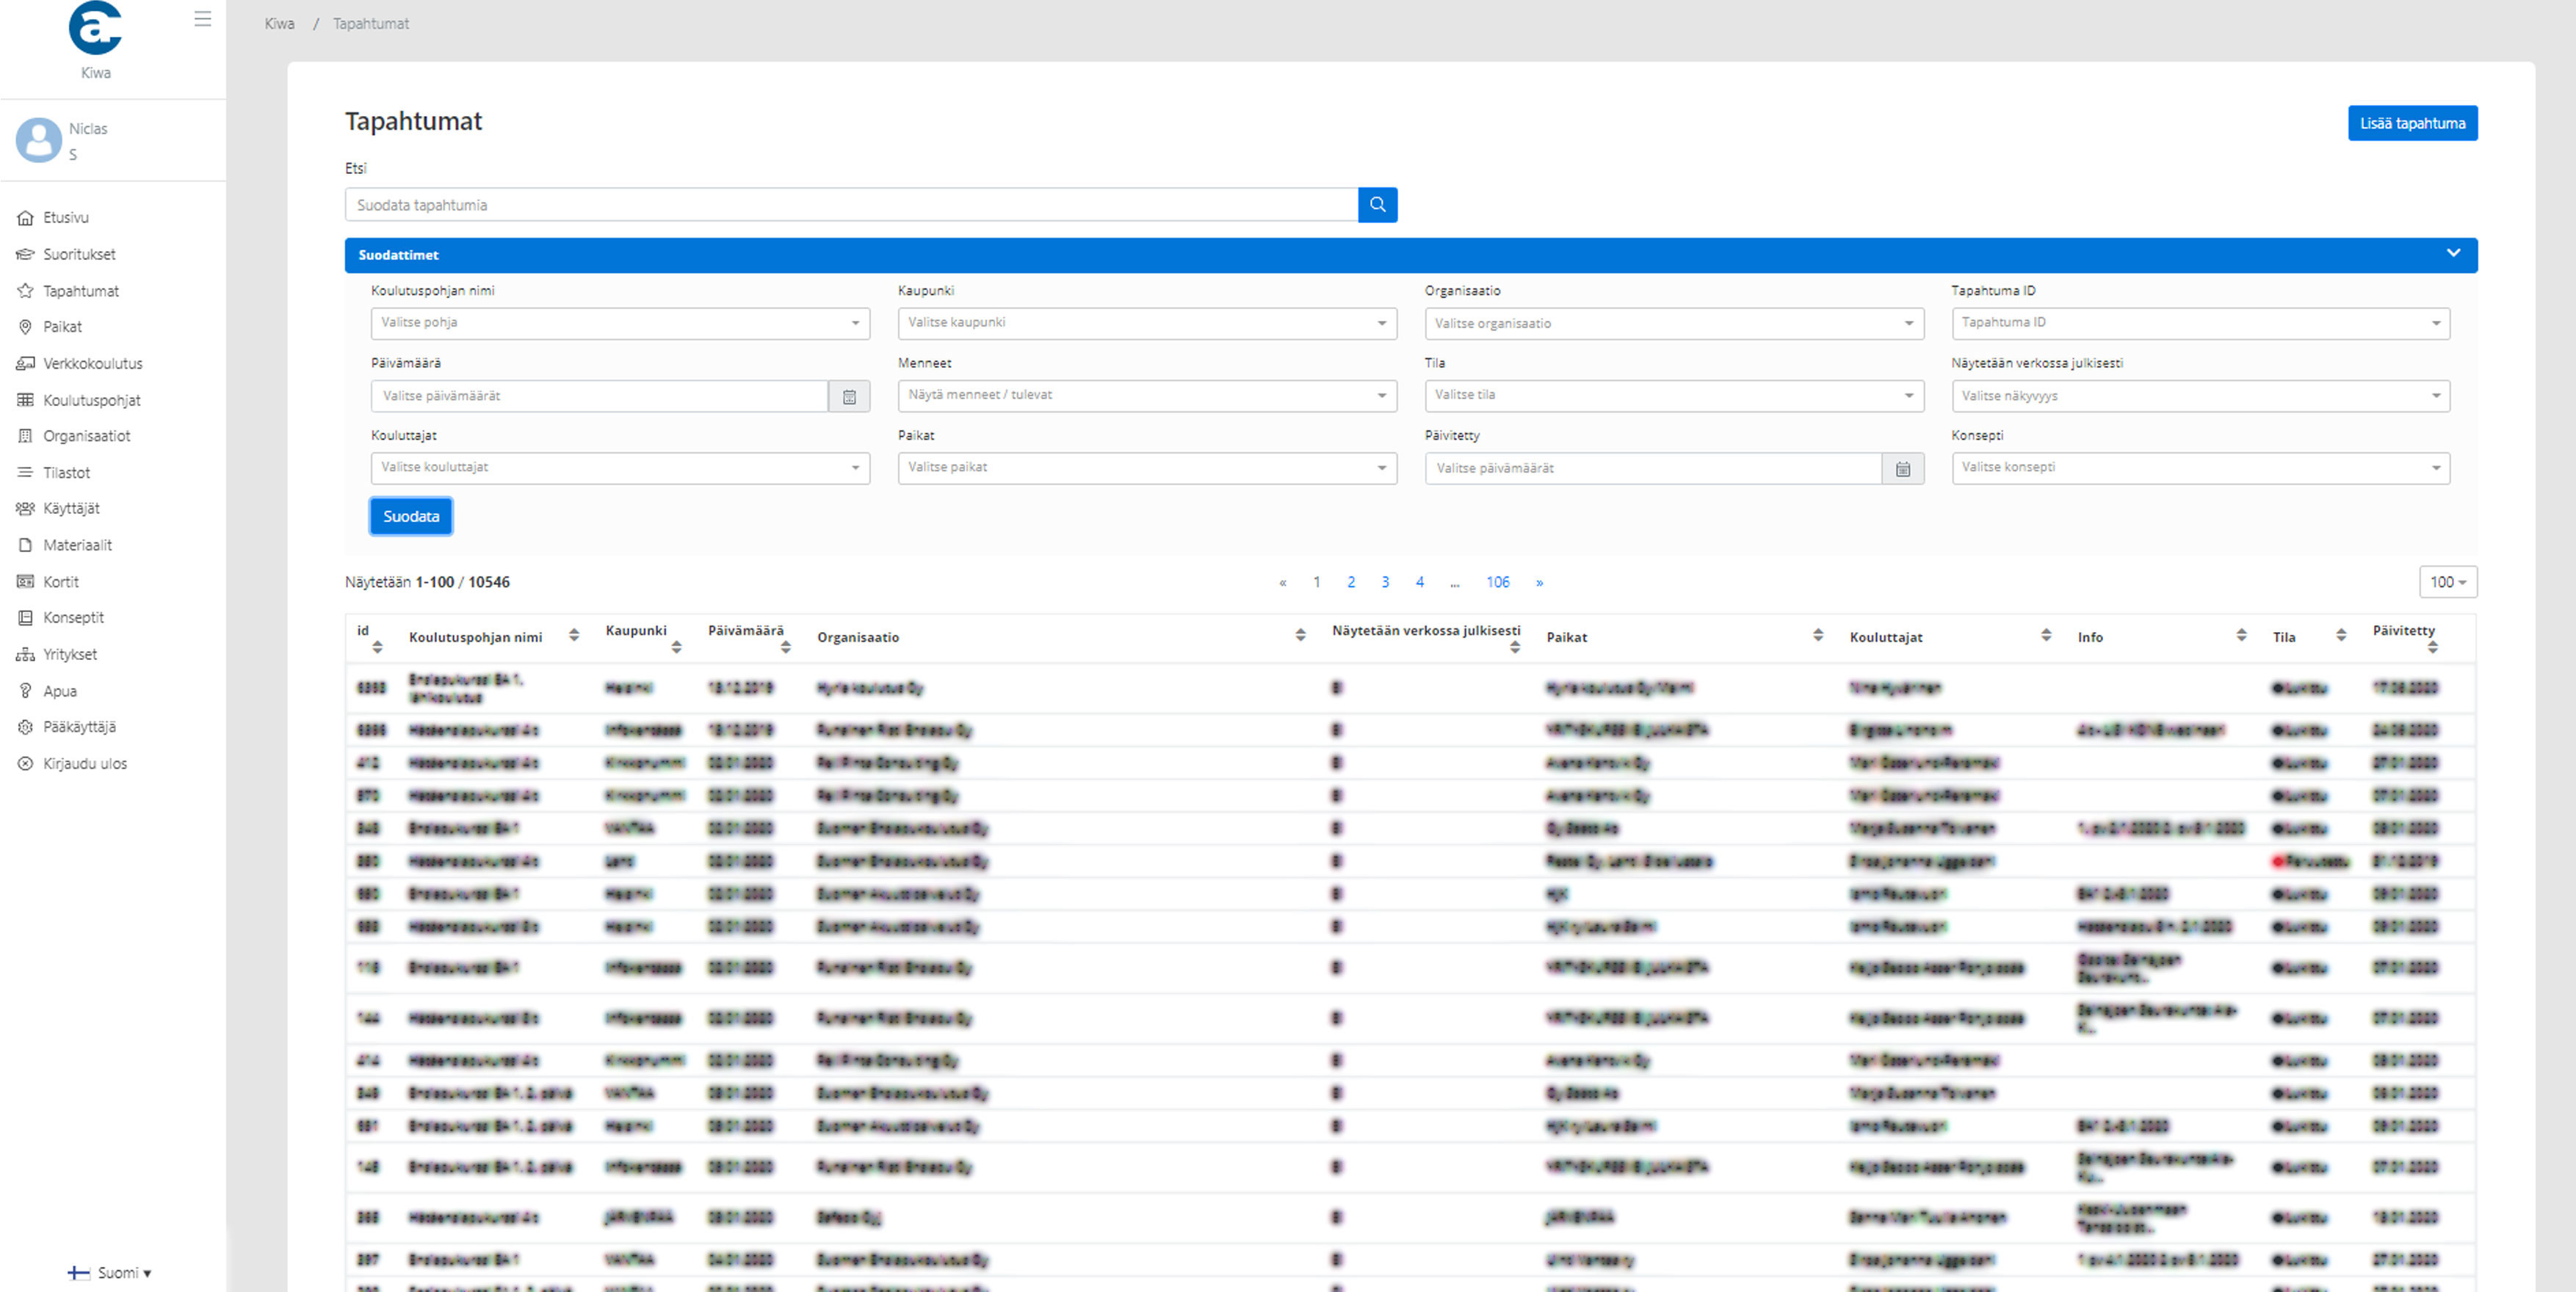
On the Events page, you can manage events in your organization.

You can filter events by the following criteria:
The name of the training template
City
Organization (If you belong to more than one organization)
Date
Gone
Status
You can also search for events directly with all of the above information under “Search”.
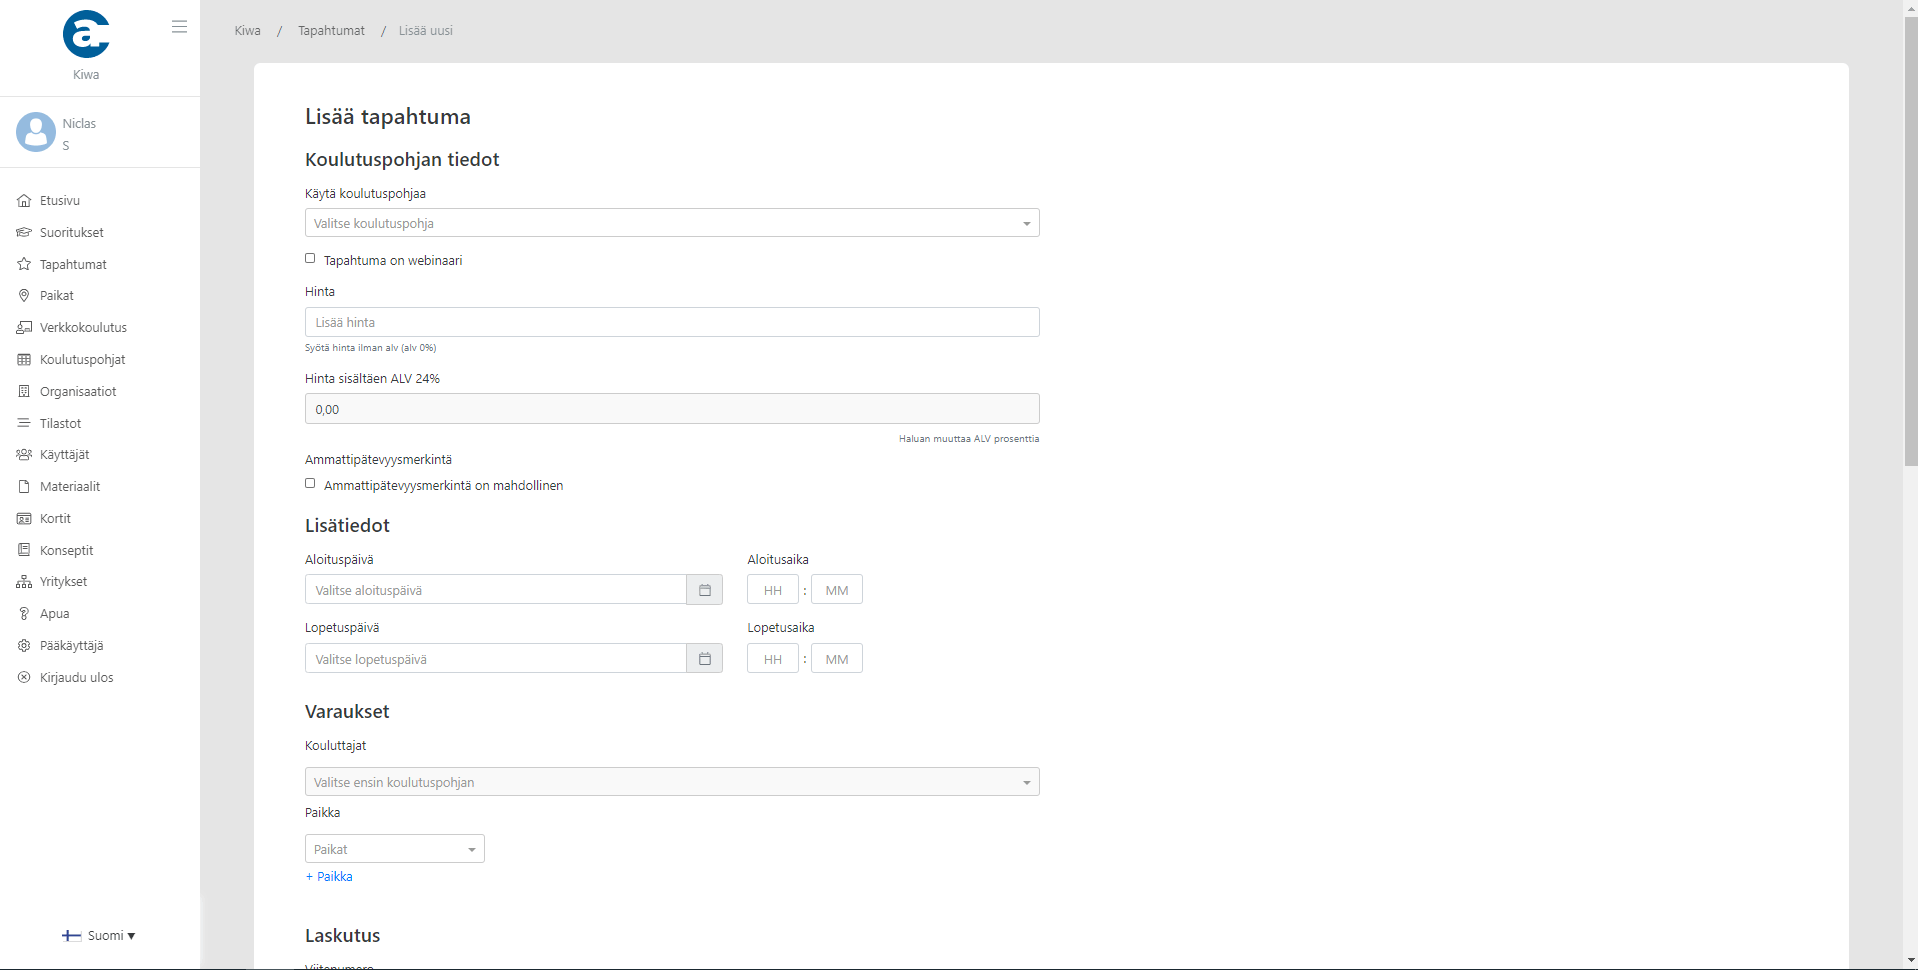
You can add a new event by clicking “Add Event” at the top right.

On the “Add Event” page, you must fill in the following information:
Training base information
training template
Price
By selecting "I want to change the VAT percent" you can change course VAT percent between 0% and 24%. It will open new row to see how it affects to price
Additional information
Date
Start time
Reservations
Trainer (s) (Note: in order to add a trainer to an event, you must first invite them to the organization as a trainer: https://help.kiwasupport.com/en/administrating-users-and-licence-descriptions-secretaries
Place
Mailing
Select mailing option for cards:
*For a training organization
To the training organization that organizes the training.
*r for the customer company
For the company that has ordered your training.
*Home address of participants
Cards will be delivered directly to participants' home addresses. (Note! No mailing abroad)
If you selected "Visible in web", please fill in the following information below, at least one of which must be filled in.
Link to the registration form (Clients will be directed to this address when they want to register for the course)
Registration email (Customers can send registrations to this address)
Registration phone number (Customers can call this number to register for courses)
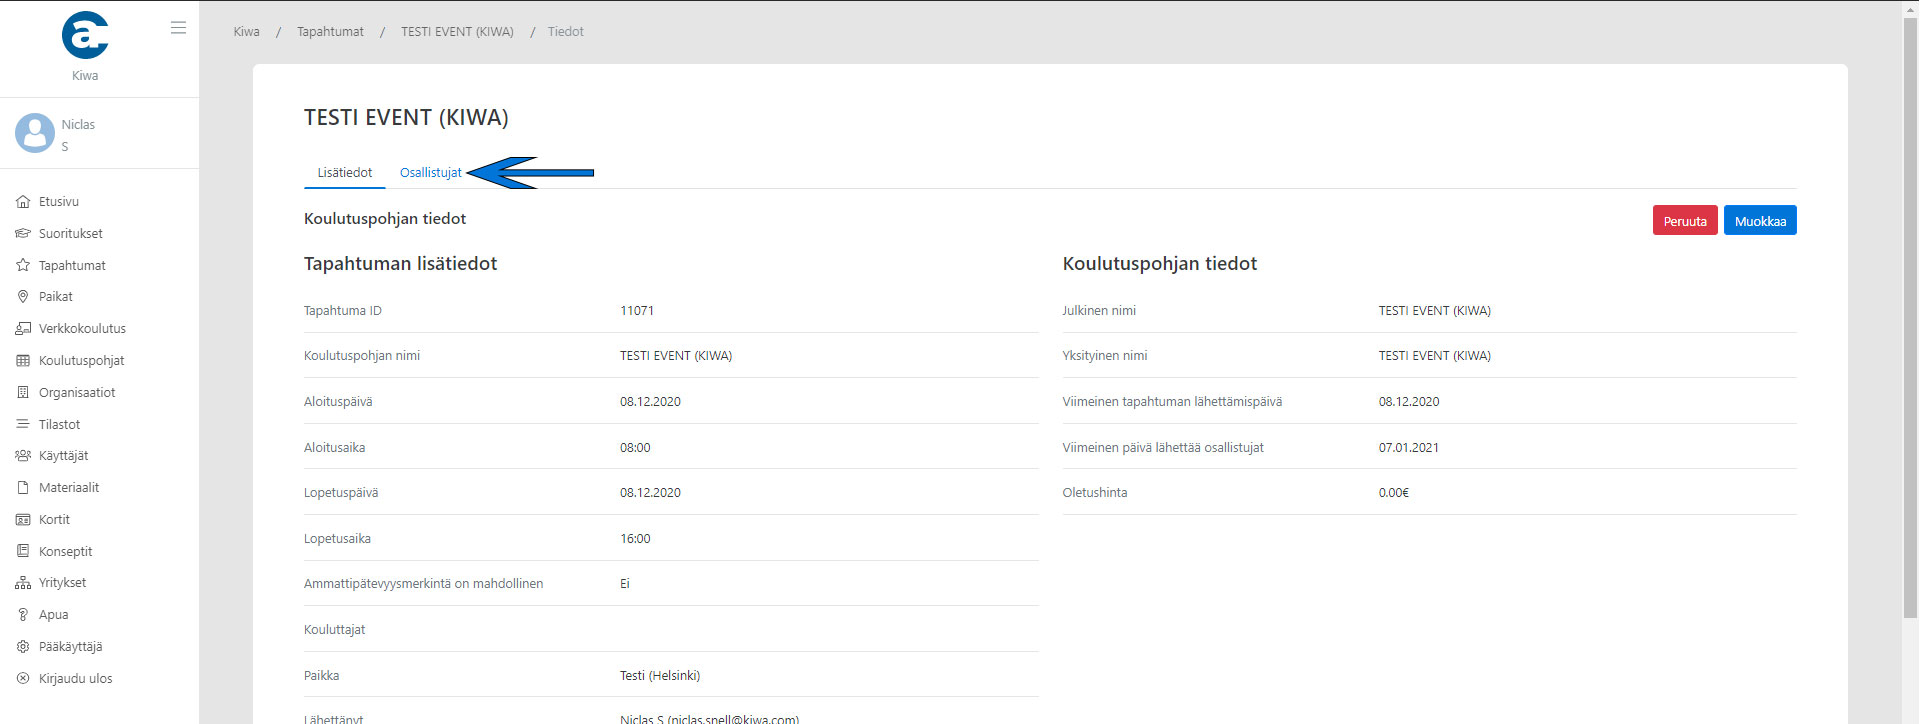
Clicking “Save” will save the event.
When you return to the “Events” page, you should publish / submit a preliminary event as follows:
Click on the event.
In the “Top” section at the top right, you can submit the event for approval.
You can also edit the event information until the course is approved.
Please note that the event must be created and sent no later than 4 days before the start of the event.
Entering participants:
To add trainees' information, follow the steps below.
Participant information will be entered and submitted after the end of the course.

Click on the event.
Select “Participants” from the top left
Fill in the following information:
First name
Last name
Social Security number or date of birth
E-mail
If a physical card is desired for the participant, tick the "Physical card" box. Only then will the address bar be activated for the participant (if the selected mailing method is for the participant)
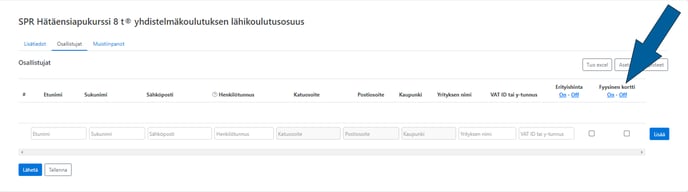
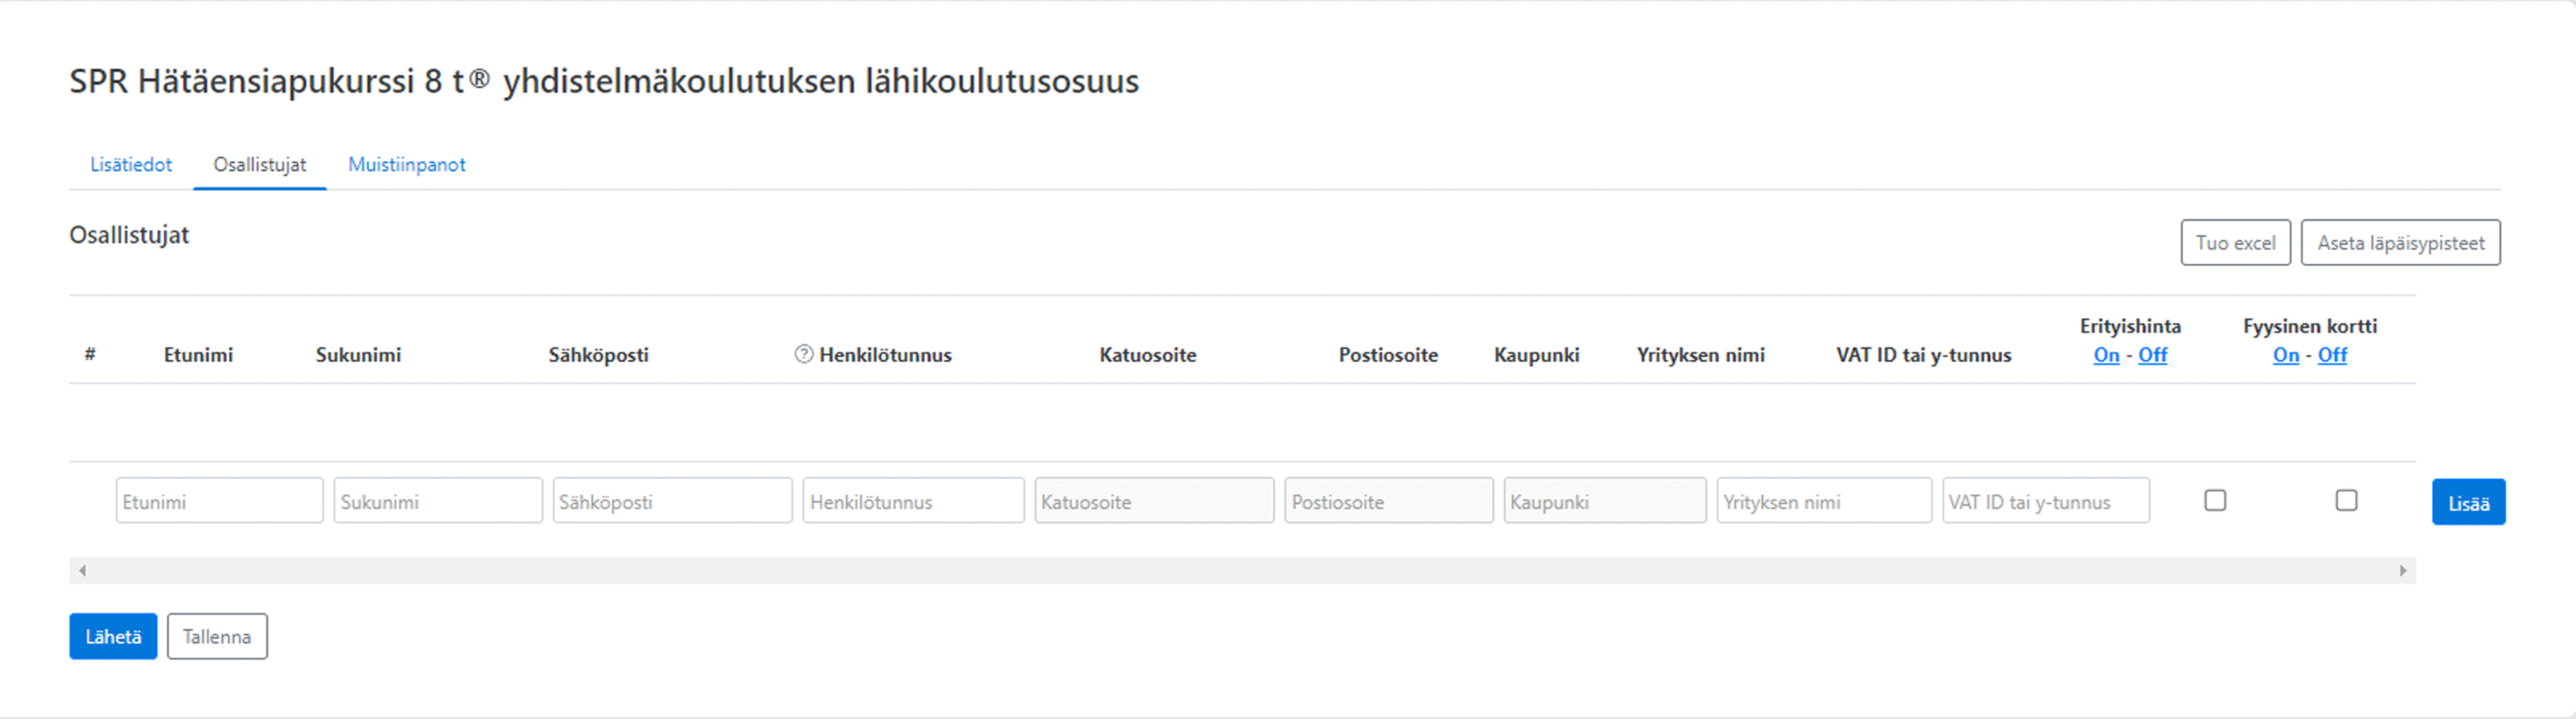
Clicking the "add" button will open a new row of participants. Note! you will need to add a blank line after the last participant!
You can save the information by clicking "save" and post the participants later.
You can add information for multiple trainees at once.
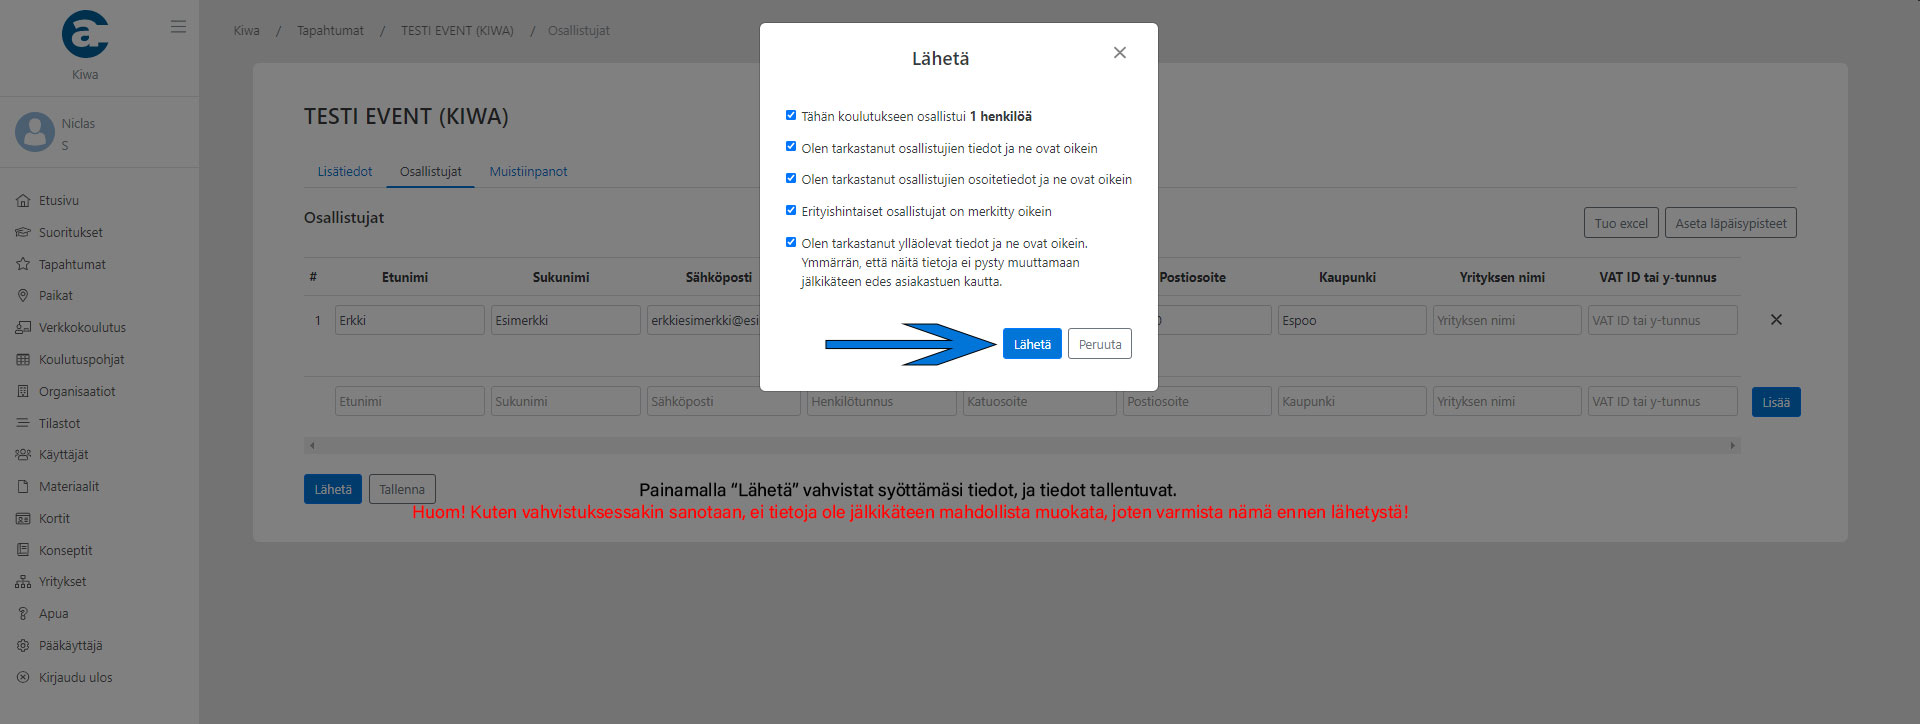
Click “Submit”
In the confirmation window you will be required to check that you have entered all the information correctly, both reduced price and Physical card info. In these you have to perform special precision, as changes to these may become chargeable in the future!